Want to make a cute DIY Easter banner that sews up quick and easy? I’ve got you covered. Here is the tutorial for a cute needle turned applique (my own easy idea for sewing appliques on fabric) and a raw edge bunny applique banner. It is festive. It is easy. It is fun to make. Come on and join in the fun. Here is what you need.
Supplies You Will Need:
- 1 Fat quarter fabric of your choice.
- Muslin or other solid fabric that will match your fat quarter fabric for backing. Enough for bunny appliques and backing for your banner.
- Floral fabric scraps for applique flowers and bows for bunnies.
- Scraps of green fabric.
- Fabric backing for appliques.
- White cotton fabric to attach the top of your banner to and for strips of fabric in between each banner piece.
- 4 fabric or faux flowers.
- 2 medium size white pom poms.
- Small amount of curly white yarn.
- Permanent slim black sharpie.
- Hot glue gun and hot glue sticks.
I was sewing along on my Easter banner when a dilemma hit. Well it seemed like a dilemma to me because the most important quilting tool I own (aka my sewing machine) started grinding and making the most outrageous banging noise. It actually scared me a bit. Nooooo! It was pathetic. Next thing I knew I couldn’t sew on my machine without it making this horrible noise. Now mind you I have had this sewing machine that cost me about a hundered bucks so I thought after all these years it might be time to lay it to rest. (However I will prove to you that you can sew and quilt without having the latest and greatest sewing machine!)
Not one to give up, I called in the fix it patrol (my hubby, truly no kidding he can fix anything!) I’ve been pretty blessed having this built in advantage due to marriage. He took my machine completely apart. I had a lot of faith to let him do this to my machine but he has a really good track record. He determined the wheel on the right side of my machine was broken. We ordered a new wheel but alas it was going to take awhile to get it in the mail. Aargh…Anyway, down to the basement I went and pulled out a Janome kids sewing machine that we gave one of our daughter’s for Christmas years ago. Very elementary but it worked so I continued on my banner making quest. Thankfully it worked enough to finish my project so I can share the how to nitty gritty which isn’t really nitty gritty because it’s pretty straight forward and easy. Here goes.
Fat Quarter Friendly
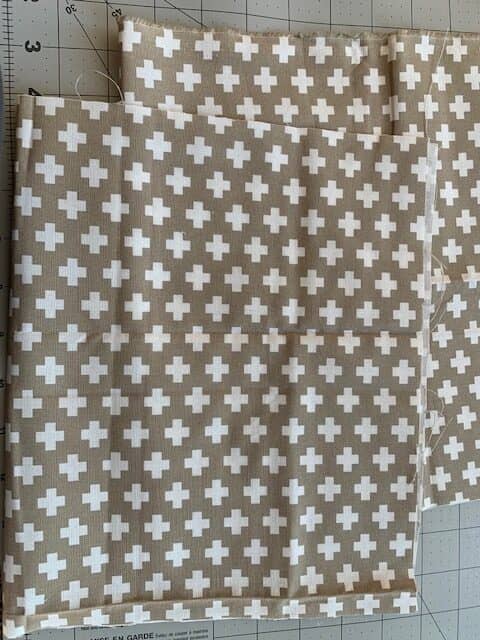
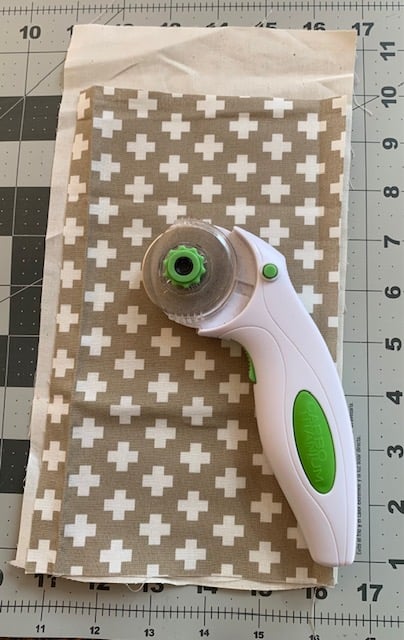
You can use a fat quarter to make your banner and have some fabric leftover to spare. Any time you can use a fat quarter for your project that is a win in my book. Choose the fabric you want for your Easter banner. I grabbed a fat quarter on a whim when fabric shopping recently. It was a cute taupe color with a swiss cross on it. (Didn’t know what I was going to do with it. Enter my Easter banner. Don’t know maybe it’s the time I studied abroad in Austria and visited Switzerland but I am so drawn to this design. It was the perfect fabric design for my Easter banner. Choose what sings to you as far as your main fabric.
Follow these steps:
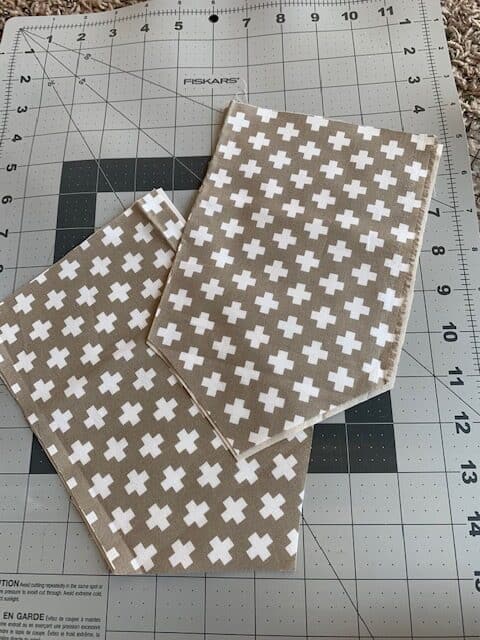
- First cut your fat quarter in half. This gives you two pieces of fabric as pictured above.
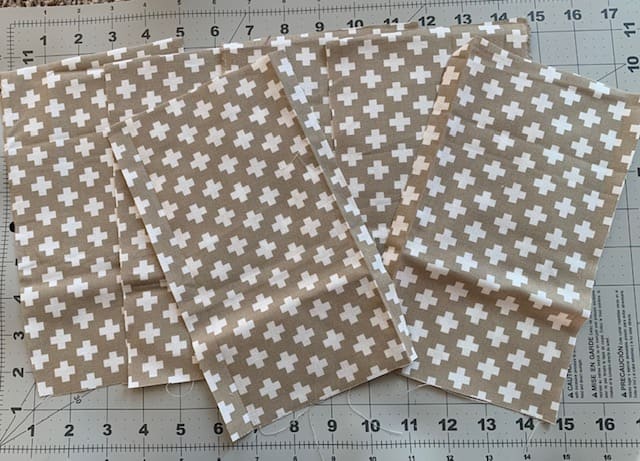
- Keep folding and cutting your fat quarter in half until you end up with 6 pieces but you will really only need 5. (An odd number is better for your banner. At least the experts say odd numbered items are better looking than even numbered items so I applied that to my banner. You can decide for yourself the odd or even number of banner pieces.
Choose Your Backing To Go With Your Main Banner Fabric
I used muslin but you can choose other scrap fabric that you have on hand that you think will look good on the back of your banner. The backing fabric will give your banner sturdiness. Cut your backing to fit your fat quarter fabric. You are going to cut the bottom of each banner and backing piece now on a diagonal to give it that fun banner look.
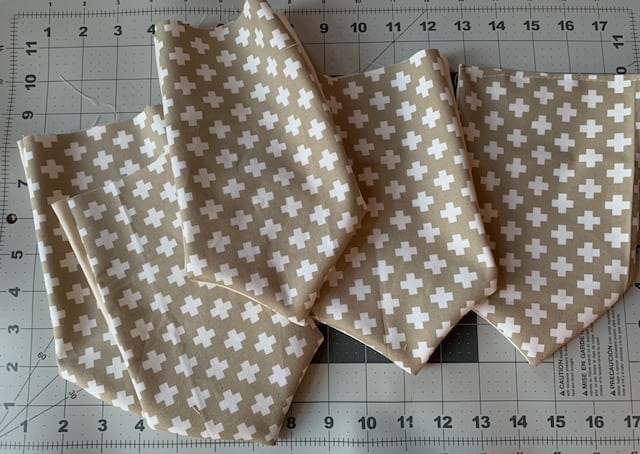
Cut The Bottom Of Your Banner and Backing
This next step is optional. You don’t have to cut a diagonal shaped bottom on your banner you can keep it just the way it is if you like. I think cutting the bottom of your banner on a diagonal gives it that banner or bunting look whatever you want to call it. It looks sharp and cute at the same time. Take each piece of your banner and make sure your fabric backing is lined up underneath your top banner piece. Cut both with a rotary cutter to get your “V” shape or diagonal shape.
Sew Your Banner Pieces To Your Backing
This next step is really simple. Take your fat quarter banner piece and place your backing fabric piece right sides together leave the top part open and unsewn. Sew around the sides and bottom of your banner and backing piece. Trim around the edges. Turn it inside out. Repeat this process for each banner and backing piece. Then take each sewn banner piece and press it at your ironing station.
Options For Finishing The Unsewn Top Of Your Banner Pieces
You have options for finishing the top of your banner pieces. You can fold the top of your fabric inward so you can sew across the top before attaching it to a strip of fabric that your banner will hang from or you can sew it open the way it is to the strip of white fabric that your banner will hang from. To be transparent here, because I was using my alternate sewing machine (small Janome for kids) it had issues sewing through more than one thickness of fabric so I chose to attach it un sewn to my fabric strip. However, if I had my druthers, I sew the opening at the top closed before attaching it to my fabric strip that my banner pieces hanging from.
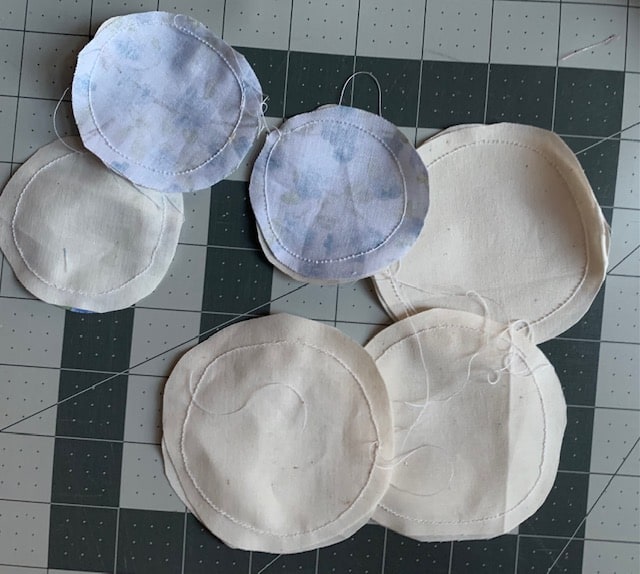
Needle Turn Applique Flowers
Before you put your banner altogether, it’s time to do some needle turn applique flowers and then some raw edge bunnies. Cut 1 of each a large, a medium, and a small circle out of floral fabric. Cut squares out of muslin or other fabric to sew your flowers to. Once sewn, cut the backing into a circle shape to match your round flower shape. Put the circles right side together and sew around each. Trim around the applique. On the backside of the applique, cut a slit and then cut it a little bigger. Turn your applique inside out. Then press each on the front side of the applique.

Leaves For Needle Turn Appliques
Cut one leave and one muslin square for each flower applique. I chose to put three flower and leaf appliques on my banner. Machine sew the leaf to the muslin square and then trim the backing to match the leaf shape. Cut a slit in the back of the leaf applique. Turn your applique inside out. Press each leaf.
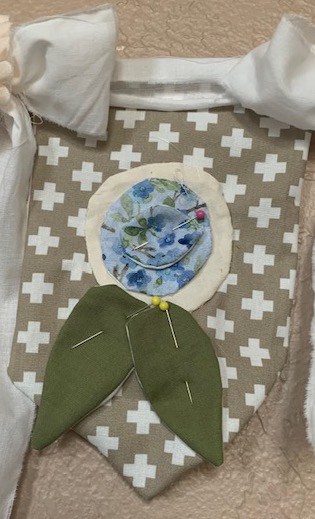
Applique Flowers & Leaves On Your Banner
Use a size 11 needle for appliquéing your flowers on to your banner pieces. Thread your needle then take your needle and put it through the underneath fabric of your round muslin flower and then catch the top edge of your flower applique.

Continue all the way around your round flower and when you take your last stitch, push your needle through to the back of your applique and knot your thread off. Center your medium round flower applique on top of the large flower and applique it on. Then sew the small round flower piece on top of the medium flower applique the same way you did the other appliques. Place your leaves underneath the flower on your banner and applique them one at a time using the turn needle appplique method I explained. Sew one leaf. Then place the other leaf next to the leaf you just sewed on your banner. They can overlap when sewing them on.
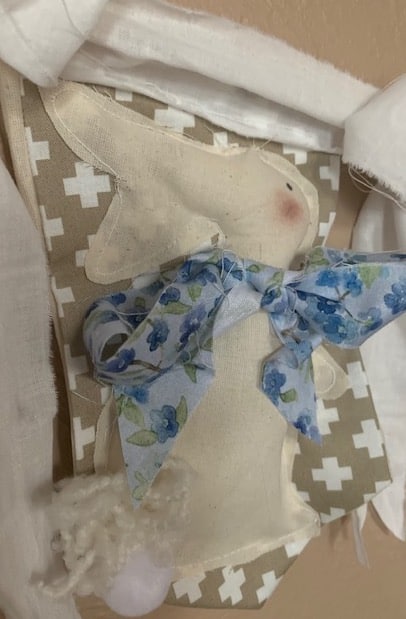
Raw Edge Applique Bunny

I used a pattern like this for my bunny pattern to applique on my banner. I cut my bunnies out of muslin and only needed two bunnies cut out because with raw edge applique you don’t need to put a backing on it like my needle turn applique. Cut your pattern out to fit your banner size. Take your banner piece and carefully sew around the edge of your bunny leaving an opening in the side of the bunny. Sew the bunnies one facing the right and sew the other bunny facing the left. Stuff each bunny with some polyester fiberfill how full you want it to be. Then sew the side opening closed. I added an eye by placing a dot on the bunny with a permanent marker. I tied a bow using a strip from the floral fabric I made my flower appliques from. Glue the bow on the bunny with hot glue. Add a little blush to the cheek of the bunny with powder blush and a Q-tip.
Put Your Banner Together
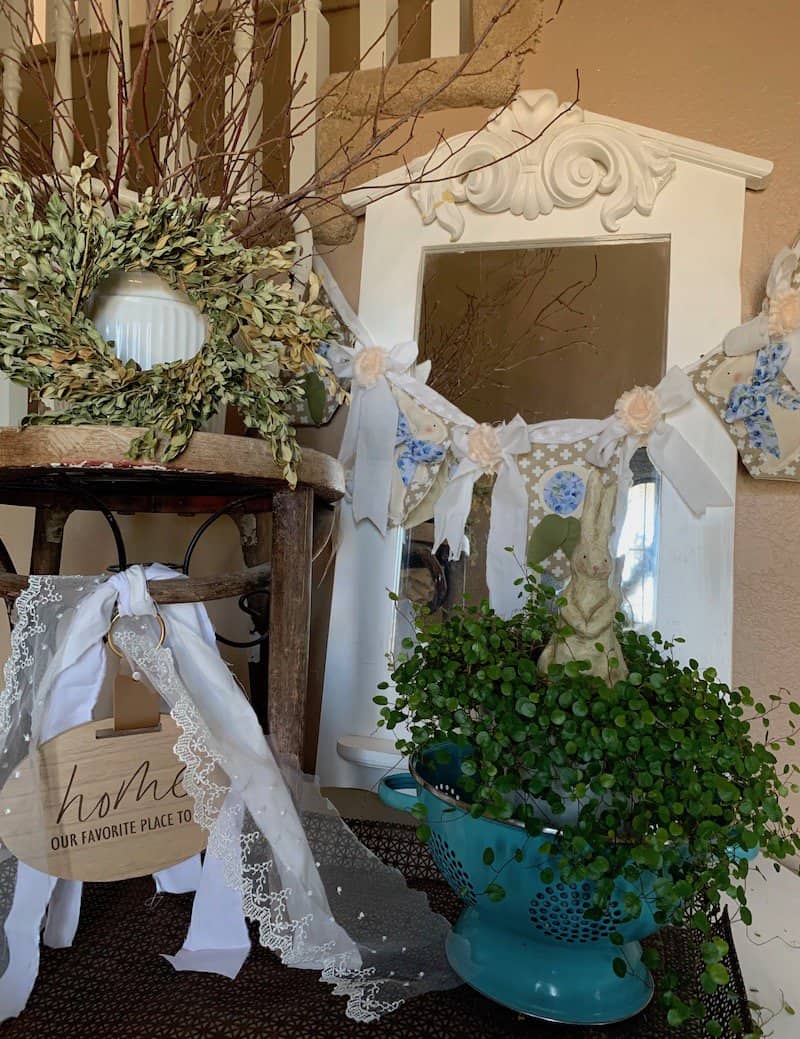
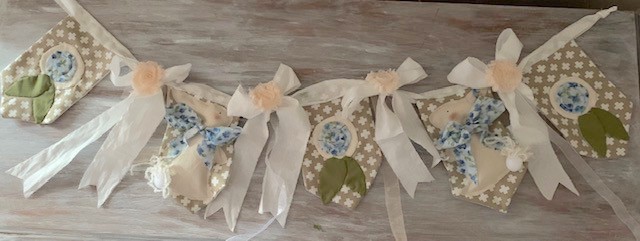
You will need 5 strips of fabric to put your banner together. I used some white cotton fabric for bows to tie to the banner and a strip to put across the banner for the pieces to hang from. Lay your banner pieces out on the floor or table. Measure how long you want the banner to be. Space each banner piece evenly apart. Sew a strip of fabric across the top of each banner top. Tie a bow in between each banner piece then glue a lace flower or faux flower in the middle of each bow. Sew a loop to each end of the top of your banner for hanging. Or tie a knot in each end and use those to hang your banner. Now find the perfect spot to hang your banner and showcase your work and I’ll bet you have more than one spot you could hang it in.
Finishing Touches
Hot glue some ribbon to your bows if you want to add ” some something, something” to your banner. Glue on a medium sized pompom for a bunny tail. Also to add a little extra, I took some curly yarn, put it in a bunch and hot glued it above the bunny pom pom tail. If you want to add buttons, more ribbon, more strips of fabric create the look you want.
You might also like:
A really fun way to enjoy quilting with friends is to put together a quilt retreat or to attend one together. If you want to know how to create your own quilt retreat this will give you some ideas What Is A Quilt Retreat?
Want to know how to needle turn applique so that your edges are smooth and rounded? Try my method Needle Turn Applique Made Easier With No fusible Web & Stunning Results
Throw quilts are great to have on hand. They make great gifts and are nice to curl up in when it’s chilly outside. Here is one way to make one How Do I Make A Throw Quilt?
Baby quilts are a very welcome gift. Here is the how to’s on making one for someone you love How Do I Make A Baby Quilt?
Recent Posts
Wondering how to become a more confident quilter and how to zero in on what type of quilting really sings to you? How do you identify if you are a maker of quilts and keep believing in your abilities...
Do you need a quilt to give as a gift and need it like yesterday? Here is a fun quick quilt you can make in a day (maybe less) once you have your supplies. It features homemade raw edge, scrap back...