
To make your home design sign you will need the following supplies:
- Plywood measuring 12″ x 24″.
- Pieces of scrap wood for the frame.
- Black paint for your board. You can use black chalkboard spray paint, acrylic craft paint, or chalk paint. ( I really like using black chalkboard spray paint so that is what I used.)
- Greenery wreath, twig wreath, dried flower wreath, faux flower wreath, bird nest etc…
- Two scrabble letter trays.
- Scrabble letters that spell “Bless Our Nest” or other quote of your choice.
- Glue gun and glue sticks or Gorilla Clear Glue.
Home decor signs are fun to decorate your home with. It adds that little bit of spice wherever you put it. You can make a home decor sign DIY in an afternoon. All it takes is a little elbow grease and creativity. Fun elbow grease though! Turn on some of your fav tunes or a podcast and get crafting!
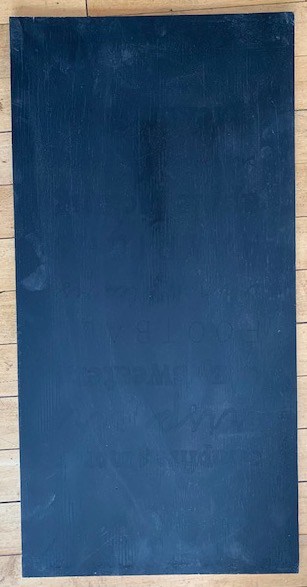
Start With Plywood
I purchased my plywood from Home Depot. They sell a piece of plywood that measures about 24″x 48″. You will find it in the lumber yard section of the store. Ask a Home Depot associate to cut the board in half. They will actually do this for you for free. Most wood pieces you ask them to cut has to be at least 12 inches long so you will be fine in asking them to cut your wood. It will make enough for two signs. Once you get your plywood home, you may need to sand it a little bit smoother. Here we go! On to the next step.
Deer Skye Quilt and Home Design
Time To Paint
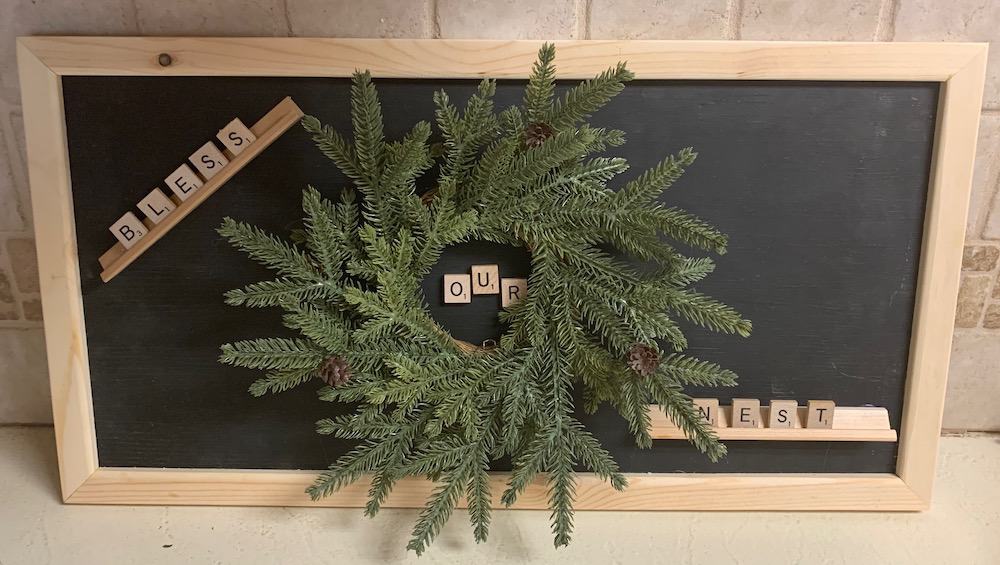
You can paint your plywood once it is smooth enough, black or white, green, whatever color you like. (If you like the chalkboard look and I do, you could paint your board a chalkboard green instead of black.) You can spray paint with chalkboard paint. (I used this option.) I really liked the beautiful contrast with the light pine frame on my sign and the black painted board. The tiles of the scrapbook letters and the tile trays contrast nicely too. They look a lot like the pine frame, as if they match.
Deer Skye Quilt and Home Design
Add A Frame
My husband is really handy with wood. I know I am pretty lucky. No make that really blessed! I handed him my plywood board and asked him to create a frame. He came up with a very simple frame made of pine. There are all kinds of ways you can make a frame very simply from a variety of woods and scrap wood at that. I chose to leave the frame unfinished. You can stain your frame, paint it, just add a clear finish, whatever suits your fancy. I loved the raw unfinished pine. Notice the knot on the top of the frame. It adds such character! The scrabble trays and tiles actually look like they match the pine frame. Corny and crazy but so beautiful!
Greenery Or Twig Wreath
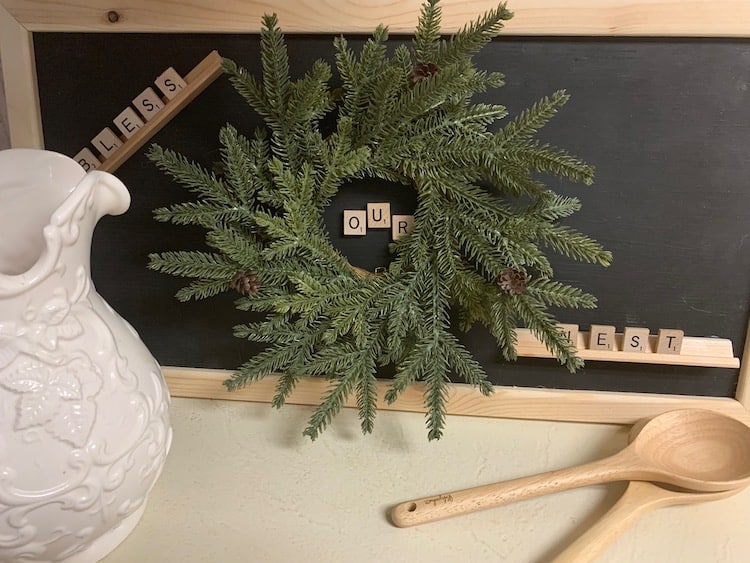
There is something special about adding a wreath to your craft projects. I purchased this wreath at Hobby Lobby. You can find them online or at a local craft store. You can substitute this wreath for a twig wreath or make your own wreath out of branches or a dried flower wreath or even a dried boxwood wreath from boxwood that you have gathered from your yard. Glue this on first. You will need to position your wreath where you want it before you add the trays and tiles.

Deer Skye Quilt and Home Design
Scrabble Trays
I was racking my brain trying to figure out how I could create my sign. There are so many cool fonts and ways to write on a sign. If I could calligraphy that would have been a great option. Even took a beginning class once but didn’t practice enough to use that talent.However sometimes our weakness can become strength…where have you heard that? Bingo! That is when I came up with the idea to raid the scrabble box!
I was going to do a combo of scrabble letters and writing with a chalk paint pen. However…instead my inspo (aka inspiration) was to use scrabble tile trays on my decor board. I used two tile trays. You can put whatever saying you want on your board. Be creative and choose something uplifting and inspiring for your home or nest (haha!) It works best to glue the trays on your board after you attach your wreath in the middle of your board. That way you can line up letter trays on each side of the wreath where it will look best on each side of your sign board.
Deer Skye Quilt and Home Design
Scrabble Letters
Well I bet you can guess where I came up with letters for my board. No chalk paint pen but yep my scrabble game! I chose letters that spelled out the saying “Bless Our Nest”. I think that is one of the cutest ways to say home. Choose the saying you want to spell out on your sign. Grab the letters that will complete your saying. Line them up where you want to glue them because this sign is permanent baby! Glue each letter tile individually to your trays. Glue them so they stand up on your tray as if you were playing scrabble. Hold on to each letter as you glue it to make sure it dries securely. I added the word “our” to the middle of the wreath. I glued the middle letter of “our” a little higher than the other two letters for added interest and a little of the unexpected fun to my sign.
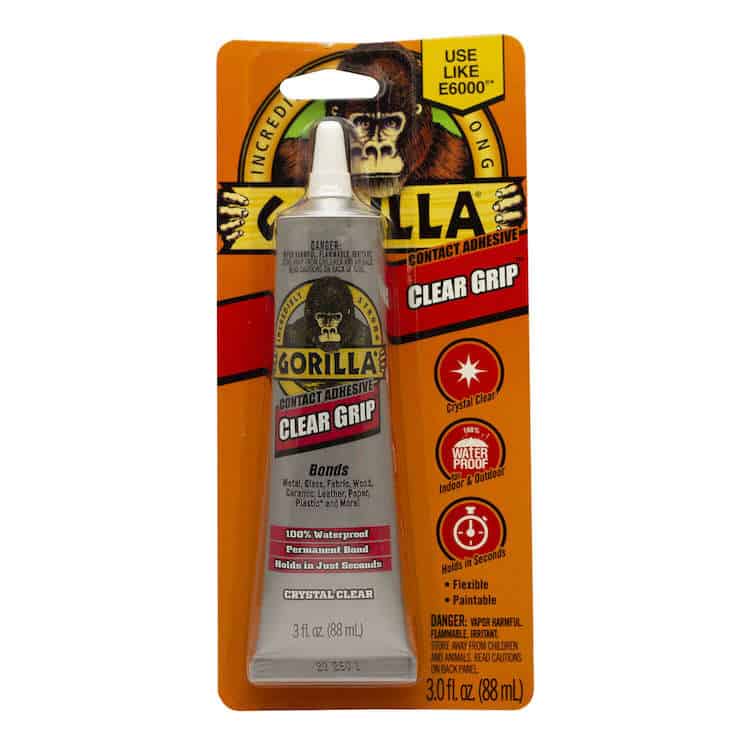
A Word About Glue
You have two options as far as glue. I have a gorilla glue gun and gorilla glue sticks and use it often and I love it! (No paid advertising just tried and true!) If you prefer, you can use Gorilla Clear Grip High Strength Contact Glue. I use this glue often as well. It dries clear and it is very strong. It doesn’t take that long to dry either which is a plus. So it is up to you to choose your glue.
Finishing Touches
If you want to go all out on your wreath, go for it. You can add dried flowers, faux flowers, ribbon, pine cones, fabric streamers or just go simple and only add the wreath. I love the sign the way it is but could be persuaded to add a bit more to the wreath. I left the pine frame unfinished. I loved the look. The simplicity of the pine frame, the letters, and tiles is stunning and quaint at the same time. This would make not only a focal point in your home but would make such a wonderful gift for birthdays, weddings, or house warming gift and add Christmas to that! Happy creating friends!
Check This Out
You might find How To Make A Boxwood Topiary helpful. It is simple and decorative for your porch or deck.
Recent Posts
Wondering how to become a more confident quilter and how to zero in on what type of quilting really sings to you? How do you identify if you are a maker of quilts and keep believing in your abilities...
Do you need a quilt to give as a gift and need it like yesterday? Here is a fun quick quilt you can make in a day (maybe less) once you have your supplies. It features homemade raw edge, scrap back...