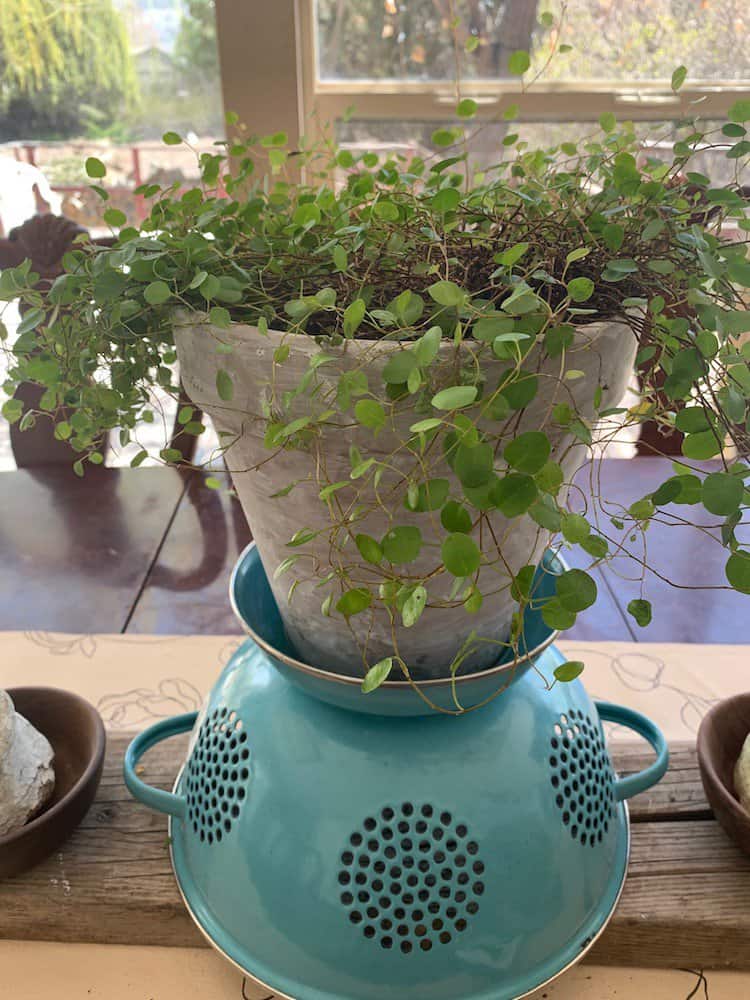
House plants provide not only beauty to a home but can affect you in many positive ways such as helping with stress and influencing your creativity according to studies done on the affect of house plants on “their people”. To keep them healthy, loving life, and looking their best, be ready to put your plants in a larger pot when they outgrow the one they are in. Also spoil them by speaking kind affirmations to them and fertilize monthly.
Here is the formula for helping your plants thrive:
- You will need a terra cotta pot that is 2″ bigger across the pot it is already in. Choose a planter that has a drainage hole in the bottom to keep your plant healthy.
- For a beautiful lived in look, age the terra cotta pot with white paint before potting your plant.
- Talk to your plant…I’m not kidding.
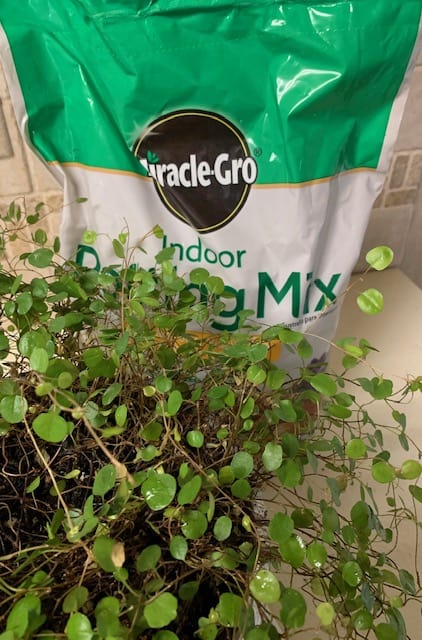
- Purchase potting soil appropriate for your plant.
- Remove the plant from the container it has outgrown.
- Loosen the roots of your plant around the bottom of the plant.
- Set a drainage plate under your planter.
- Add a bit of potting soil to your planter.
- Center your plant in the new potting soil.
- Add soil around the plant until it is firmly in place supported by the potting soil.
- Water thoroughly and add some fertilizer once a month to keep your plant happy.
My daughter in law has the “midas touch” when it comes to plants. She takes neglected, dying, unwanted plants and I am talking big plants and brings them back to life. She has a beautiful elephant’s ear plant whose leaves were brown and droopy. It had been attacked by spider mites and had other plant attacking issues. She got rid of the bugs. Repotted it, and carefully nurtured it in its new found environment. Voila it is the most beautiful elephant ear plant to behold. She is truly a miracle worker when it comes to her adopting abandoned plants. She takes in plants in need quite often.
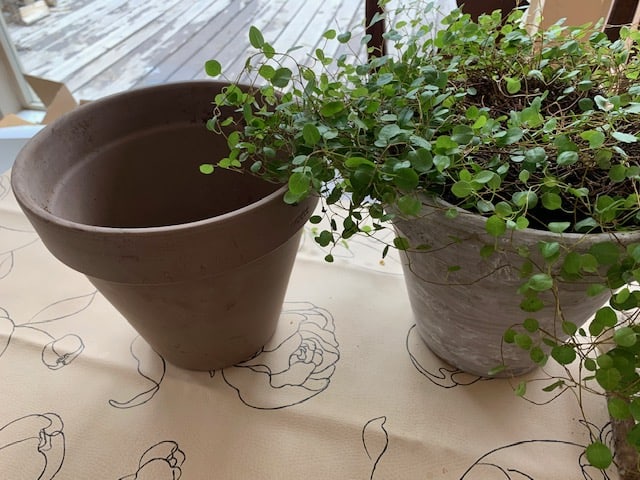
Terra Cotta Works Its Magic
I love terra cotta planters in all shapes and all sizes. I have a beautiful angel vine plant (one of my fav kinds of plants to decorate my home with) that I have had for quite some time. I kept thinking I should replant it because the leaves were looking a bit what I will call ” frowny” (is that even a word?) Anyway, I looked closely at the planter it was in and it was definitely time to make it happier by placing it in a bigger pot. Vintage looking terra cotta planters are some of my favorites because of the variety of shapes and sizes and they look both pretty and natural. Maybe even a little european depending on the style.
- When putting your plant in a bigger planter you will want to make sure it is only about one to two inches bigger than the planter it is in.
- Take a ruler and measure the pot across the top of the planter this takes the guess work out of it.
- Terra cotta is a good choice because it allows a lot of oxygen to flow in and out of the pot which helps keep the roots of your plant healthy.
- Something I learned recently, just keep your plant well watered as it will tend to dry out faster if it is potted in terra cotta.
- Your pot needs to have a drainage hole in the bottom of the container. This makes sure your plant gets adequate air so it doesn’t sit in water that goes stagnate.
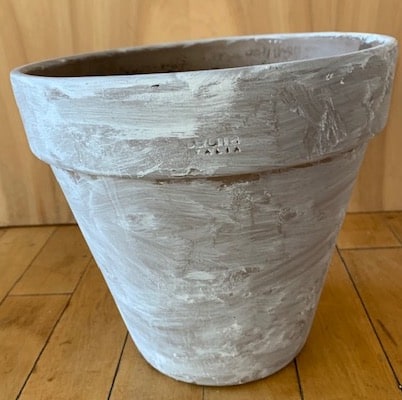
Easily Age The Look Of Your Terra Cotta Pot
A little white paint, some water, and a sponge can completely change the look of a terra cotta pot. You don’t have to make it look old but it does give your pot a vintage look. Take a bit of paint and put it in the lid of a sour cream container. Add a little water to the paint so it is watery but not too watery. Take your sponge and dot it with the paint until the whole pot is covered. Smooth and use a light sanding motion with your sponge. Let it dry. Then fill in any spots on your terra cotta pot that need more paint. If you want to do a little sanding, don’t hesitate. Make your container look like you want it to.
Talk To Your Plant
Talk to your plant. Give it a few positive affirmations each day. Just a little,”How do you do and keep growing strong” kind of words. Play some uplifting music. Give it the best treatment ever. Trust me. It will pay off. It might seem kind of funny talking to a plant but studies show that it helps with growth. It actually helps your plant grow faster. Imagine that. Something that simple so why not try it and see what happens. It might work the other way around too. I mean for you. You have a bad day and you water your plant and tell all your troubles to the plant. The plant benefits and you take a load off your chest. They do say that plants can help lessen stress.
Potting Soil
Plants require a certain type of soil. So when you are ready to repot your plant, figure out what potting soil would help it thrive. Most house plants require a basic healthy potting soil. However if you have a cactus, or succulents you are repotting, they require a unique potting soil that will help them grow. Potting soil matters. It gives the plant a new lease on life.
Remove Your Plant & Fix The Roots
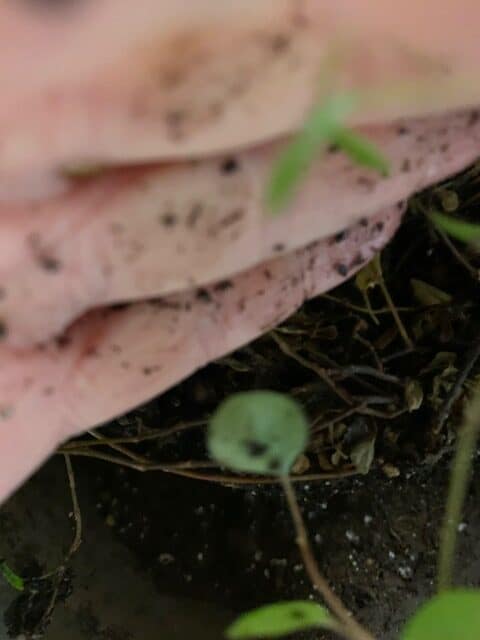
Take your plant out of its current container. If the roots have grown through the bottom of your container, it may be difficult to manuever your plant out of it’s pot. Gently move it around until you can easily pull it out of the container. Loosen the roots of your plant so they are ready to be repotted in their new home or container. This gives them a better chance of getting the nutrients they need. If the roots are hard to loosen you many need to use a couple of tools to do this with. A sharp knife or pruning shears can do the trick. Poke your tool of choice into the roots and loosen them up.
Add A Plate
Before you add new potting soil to your container, put a plate under your container that fits the size of the bottom of your container. You can get plastic drainage plates (like at Home Depot) that rounds up on the sides to catch soil or water that will drain through your pot once you start watering your plant.
Potting Your Plant
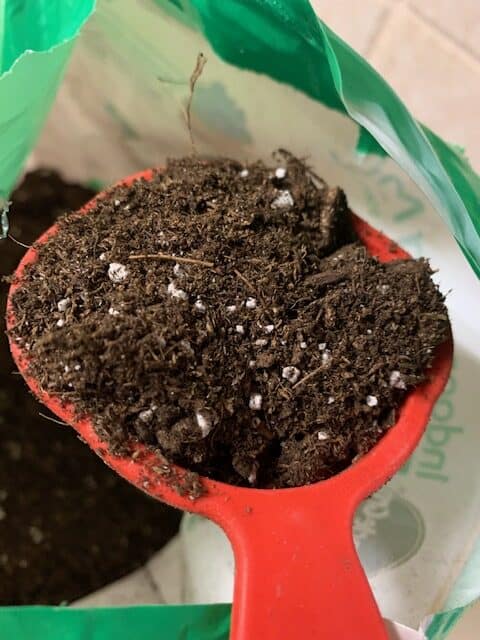
Set your container next to your potting soil and start adding some soil to your pot. Fill it about a third of the way full. Set your plant in the center of the pot. Little by little start adding more soil completely around the plant. Pat it firmly around your plant. Keep adding soil until your plant can stand on its own. Make sure you put enough soil in the container to support your plant. Don’t worry because you can’t mess this part up. If a couple of days pass and you feel like you need to add some more soil go right ahead.
Water & Fertilize
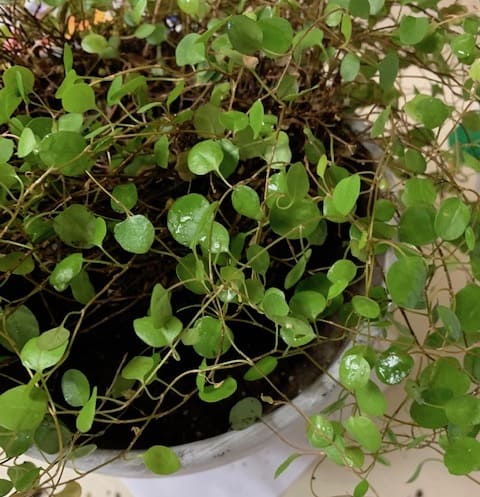
Next step is pretty easy to figure out. Water your plant thoroughly. I like to set my plant in my kitchen sink and water it. Plug your sink and add enough water so it comes a little ways up the side of your container (as long as your container is okay to set in water.) Water from the top as well. It’s a good idea to fertilize your plant after repotting. Then fertilize once a month. When you are done watering your plant, set it on your drainage plate. Take care of your plant with these simple ideas and your plant will thank you by growing, flourishing, and thriving.
You may also like:
Ever wondered how to make an indoor garden? Make A Unique Garden Indoors
Need some pointers on finding your home design style? What Is Your Home Design Style? 11 Easy Steps
Need some pointers on choosing flooring for your kitchen either building a new kitchen or doing a remodel? Take a look for pointers here How To Choose The Best Flooring For Your Kitchen
Recent Posts
Do you need a quilt to give as a gift and need it like yesterday? Here is a fun quick quilt you can make in a day (maybe less) once you have your supplies. It features homemade raw edge, scrap back...
You know those orphan blocks you just can't bring yourself to throw away? They took some time to make but they just didn't fit in the quilt you were making? Well I've got a solution for using them. A...

