
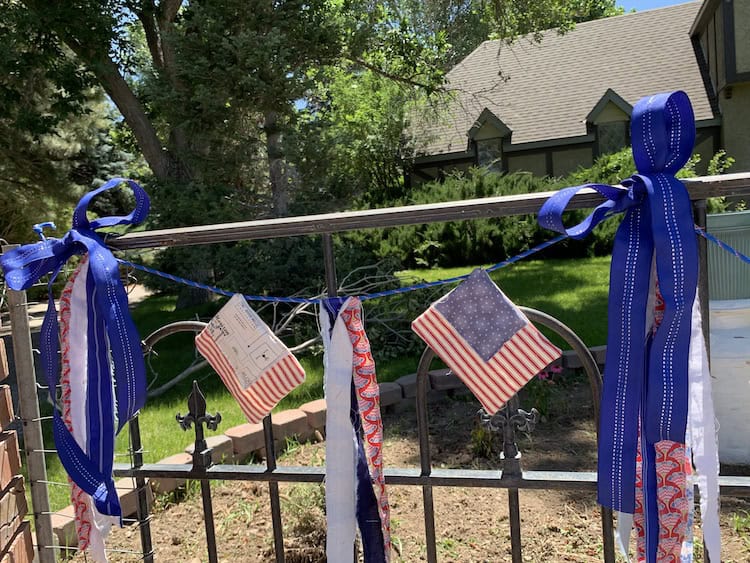
During the summer it is always fun to have a few DIY projects on hand to decorate your home. Make your own American flag bunting to hang indoors or out. This bunting sews up quickly and the raw edge applique square in the corner on each flag makes a charming look of an American flag. Add to that a couple of flower applique quilt blocks and you’ve got an Independence banner that will show your patriotic spirit. Hang it along a fence outdoors, along your fireplace, or around a doorway. There are lots of options to show your festive side for celebrating the 4th of July.
You will need this list of supplies for the flags:
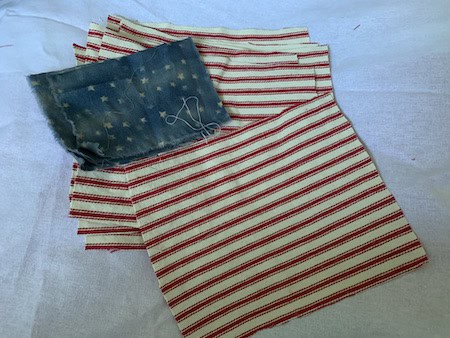
- 1/2-1 yard of red and white ticking for your flags depending on how many flags you want to make.
- A variety of scrap fabric in blues or whites or cream with stars or other prints to applique in the left top of each flag
- About 1/2-1 yard fabric for backing of your flags
- Long strips of fabric or red, white, and blue ribbons to hang in between your flags and large flower squares.
- Low loft batting
- Rope or twine
- Ribbon to tie to your bunting ( I used 3 1/12 lengths of blue ribbon)
- Hot glue or small safety pins( my choice)
Supplies for the 2 large flower squares:
- Fat quarter for each of the flower applique background and backing fabric for the large square.
- Small amount of contrasting fabric scraps for the flower appliques.
- Green fabric for the flower stems and leaves.
This cute Independence bunting or banner could be made for a variety of holidays. For Christmas you could replace the flags with Christmas trees and applique houses. The large flower squares could be replaced with snowmen appliqued on etc… For Halloween you could come up with a really cute bunting tailored just for that holiday. This a free DIY is easy to make and very festive looking.
Making The Raw Edge Applique Flags
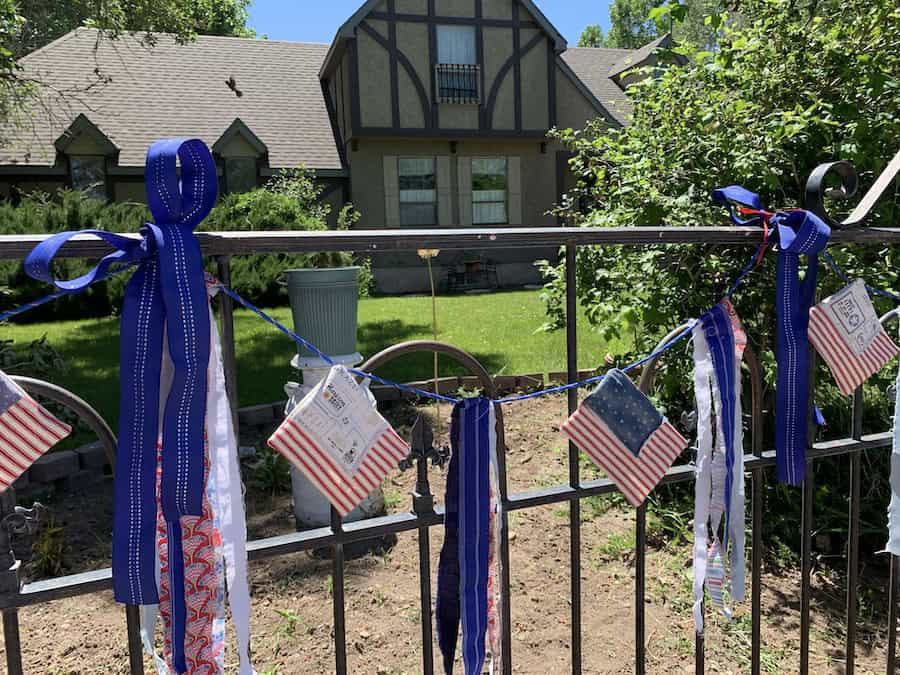
I wanted a festive bunting to hang on the fence in my front yard. (I want to be transparent here, so sorry about the dirt patch in my picture. I am slowly replanting this flower patch creating more of a cottage garden and it is a work in progress.) You can make your flags out of striped cotton fabric if you prefer but I had red and white ticking fabric on hand and decided to go with it. I like the weight of the fabric too because we get some crazy winds where I live and if the wind blows hard ticking is heavier weight and should help my flags stay in place and not flip up over my fence. A few things to get started:
- Choose your main fabric for your flags.
- You will also need coordinating fabric you will be using for the squares you raw edge applique on the top left corner of your flag. Fabrics with little stars or antique looking fabric works well for the coordinating fabric. I used some Graze fabric by Sweetwater Fabrics in the corner of my flag too because it added a cute country contrast to the dark blue fabric with stars I used in the corners of my flags.
- Once you have your fabrics chosen for your flags, cut your rectangles out about 5″x6″. Measure the area where you want to hang your Independence bunting and make enough flags to cover the area you want to decorate.
- Cut your squares for the left corner of your flags. They measure about 3″ x”4.
- Cut out a square of low loft batting to match your fabric squares.
- Place a piece of low loft batting on the left side of your ticking rectangle. Place your cotton fabric on top of the batting. Applique them with raw edge applique by sewing around the edges of both fabrics. Here’s a tip for completing your bunting a little faster. Do batch sewing. That means you cut out all of your flags and then raw edge applique each corner one right after the other.
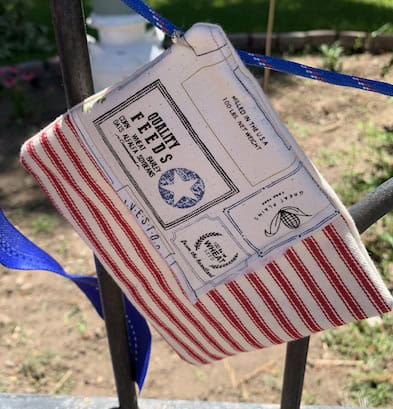
- Now complete your flag. Cut out a piece of backing for each flag.
- Put right sides together and sew around the edge of the flag. Trim around the edges. Cut a slit in the back and turn right side out.
- Press each flag flat.
Once again make as many flags as you want for your Fourth of July bunting.
Make Your Applique Flower Squares
I made only 2 of these large flower square (quilt blocks) however you can add more of these to alternate with your flags on your bunting if you want to. You get to choose how many applique flower quilt blocks you want to add to your bunting.
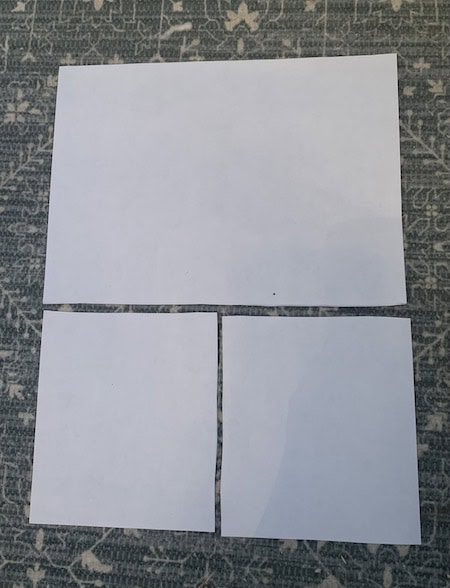
- Take a piece of fabric and cut it 9″ x 12″. Cut out backing fabric for your flower square a little bit bigger than your bloom topper. Set the backing aside.
- Measure 5″ up from the bottom of the flower topper fabric you just cut. Take your disappearing marker and mark a line where you just measured up 5″. Cut on the line you measured 5″ up from the bottom. (This is horizontally across your fabric.) Set the larger piece of fabric aside.
- Cut out a flower stem the size you want it to be ( a piece of green fabric about 1.5″ wide and 5″ long.)
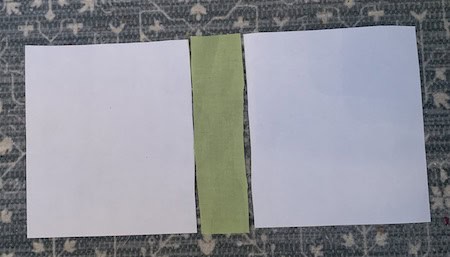
- Fold in half the 5″ tall piece of fabric you just cut and cut it vertically.
- Sew your green stem to each side of this fabric. Your stem will be in the middle of this fabric.
- Press.
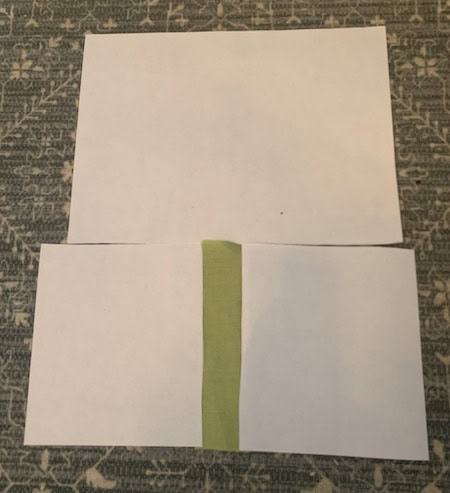
- Now sew your fabric with the stem to the fabric piece you set aside. Trim the sides to match the top fabric piece.
- Press.
- I used a couple of round cookie cutters one slightly bigger than the other to cut out the two flower blooms that I appliqued on. You could also use a roll of round duct tape or masking tape as a pattern. Small bowl, vase, large yogurt and small yogurt lid,etc…whatever you have on hand.
- Cut out your 2 circles for your flower one slightly bigger than the other. Cut a square of backing for your round flower appliques larger than your applique. You can make your flower as big as you want.
- Place backing and topper of your large square right sides together. Sew around the edge of the round cut out shape.
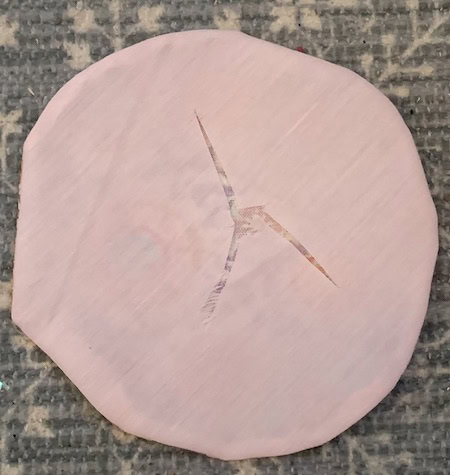
- Now cut a slit in the back of the backing.
- Turn bloom right side out. Press.
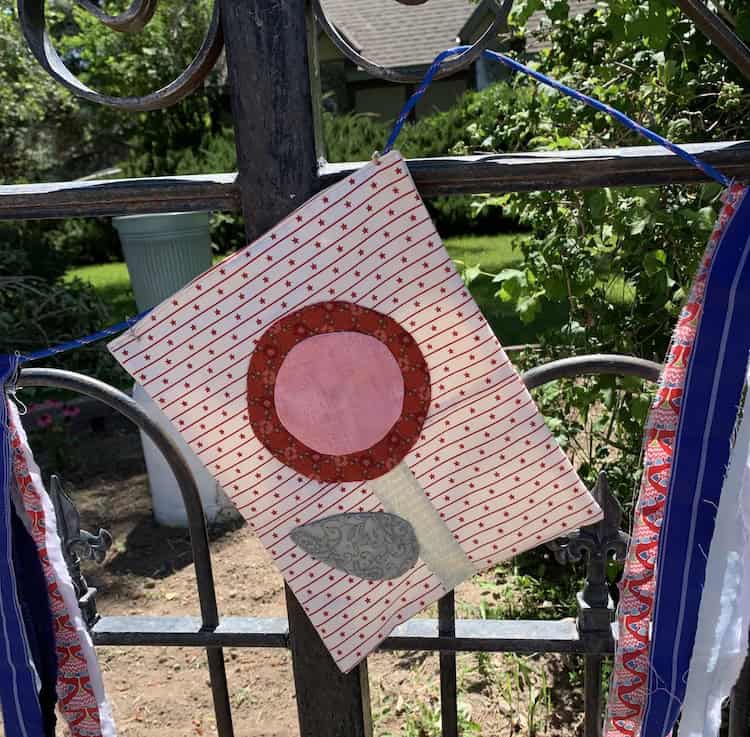
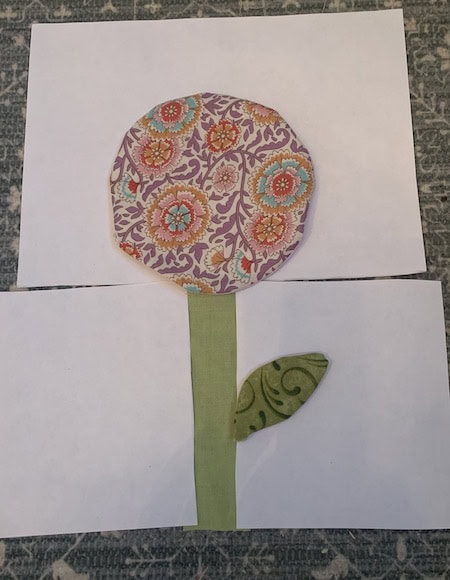
- Applique your biggest round bloom to your large square fabric topper. Attach by sewing little stitches completely around the flower. Match your thread to your topper which is considered your background.
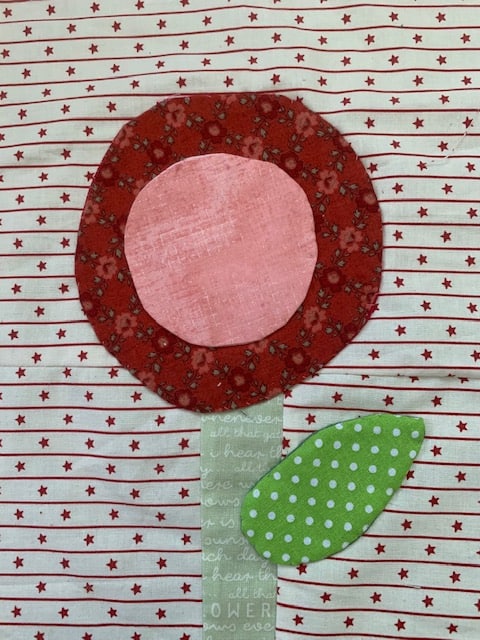
- Repeat this process with the smaller round shape that goes on top of your appliqued flower.
- Applique it on top of the flower you just appliqued.
- Draw a leaf freehand and cut out a leaf from green fabric.
- Cut a square of backing fabric for your leaf.
- Sew the backing on by sewing around the edge of your leaf .Trim around the leaf. Cut a slit in the backing, and turn right side out just like you did with the flower part of your applique. Press and applique your leaf to your stem and flower topper quilt block.
- Now grab your backing. Put the 9″ x 12″ topper and backing together and sew close to the edge of the topper.
- Trim around your topper.
- Put a slit in the backing and turn it inside out.
- Press.
- Make as many as you like for your banner.
Ta da! You’ve got a cute appliqued flower quilt block to add some pizazz to your Independence banner.
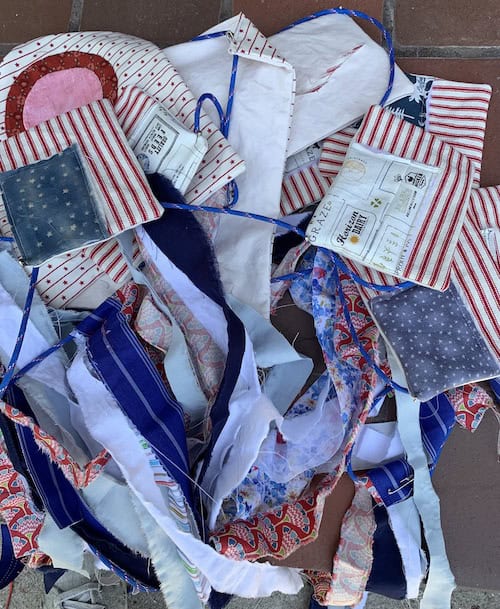
Strips Of Fabric
Rip some strips of red, white, and blue fabric. Place them in separate piles to place in between all of your flags. You decide how long or short you want your strips to be. Ribbon can be used in place of fabric strips. I had some festive blue ribbon that I wanted to add to my bunting. So after attaching my fourth of July bunting to my fence, I tied blue ribbon where I attached it to my fence.
How To Attach Your Bunting To Your Rope Or Twine
I used some blue cording to pin my flags, strips, and flowers to. You can use thin rope, ribbon, twine, etc…I wanted to hot glue my appliqued flag and flower banner together but past experience has shown me that the weather can affect the hot glue. You don’t want cute raw edge appliqued flags flying off your rope when your hot glue gets too hot or cold and releases your flags. I took small safety pins and pinned everything on the blue cording. I tied the bunting to my front fence with inexpensive skinny ribbon. In the places I attached my holiday banner, I tied a big blue bow.
You May Also Like
Calm stitching can help you de stress after a rough day of work or raising kiddos. Here is a way to elevate your quilt blocks with some needlework and enjoy your time sewing. Add Some Calm Stitching To Your Quilt Project And Add Instant Charm By Using 2 Embroidery Stitches .
Do you like to quilt applique? Here are some ideas for making your appliques even more noticeable. Check this out. How To Make Your Quilt Applique Stunning And Bespoke.
To be successful with your quilt applique, you need certain tools to make it more streamline and easy. Embark On Your Quilt Applique Adventure: The Ultimate Tool Guide For Beginners And Pros Alike .
Needle turn applique makes a quilt come to life. It is charming and cute. It makes people stop and take a second look. Needle Turn Applique Made Easier With No Fusible Web & Stunning Results.
Recent Posts
Wondering how to become a more confident quilter and how to zero in on what type of quilting really sings to you? How do you identify if you are a maker of quilts and keep believing in your abilities...
Do you need a quilt to give as a gift and need it like yesterday? Here is a fun quick quilt you can make in a day (maybe less) once you have your supplies. It features homemade raw edge, scrap back...