Got a stash of quilt squares at your fingertips and wondering what to make with them? How about making and gifting a checkerboard with your quilt squares. This is pretty easy to make and won’t take too much time but best of all will take several of your quilt squares. You can keep it to play this game with your children or grandchildren or give it as a gift.
Here is what you will need:
- A variety of two different colors of fabric one with an animal print and a fun adventure contrasting fabric
- Backing Fabric
- Low loft batting optional
- Rotary cutter or sharp scissors
- Self healing mat
- Thread
- Iron and ironing board
- 2 different types of wooden objects for checkers
Here is how to make it:
- Sew checkerboard squares together one row at a time.
- Press after you sew each individual row.
- Sew rows together.
- Press checkerboard topper.
- Cut out and iron prairie points to finish edge with.
- Bind your quilt with prairie points using this easy method of binding with or without batting. What Is The Easiest Way To Bind A Quilt?
While I run, I like to listen to podcasts. Ever heard of the book “How To Live Life In Cresendo.” Love the main theme of this book that says, “Your greatest work is always ahead of you.” That’s a really comforting thought. This book was written by Stephen Covey and his daughter Cynthia Covey Haller. I recently listened to an interview Greg McKowen did with this author (the daughter of the famous Stephen Covey who wrote 7 Habits for Highly Effective People.) Wow! To adopt such a mantra in life. I love it! So we are going to go big here with this project. Big and easy. Let’s make a checkerboard game bigger than usual so that it really gets the attention of your children, grandchildren, and family members. You can design it smaller if you want to but I’m telling ya the large size makes this game more inviting and fun to play in my super humble opinion.
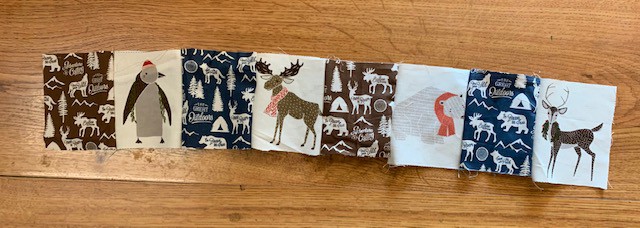
Choosing Your Checkerboard Squares Fabric
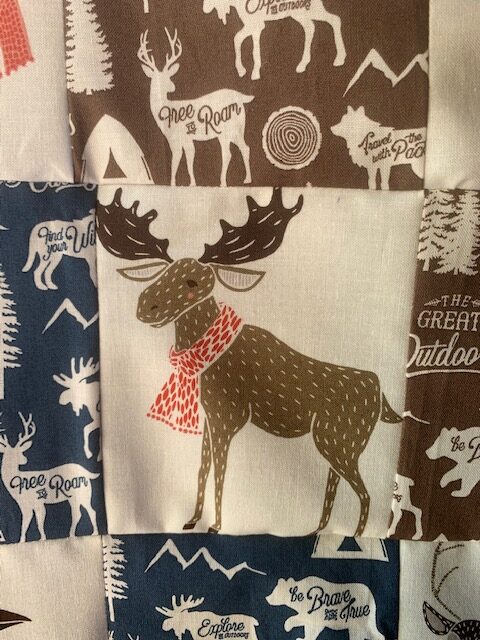
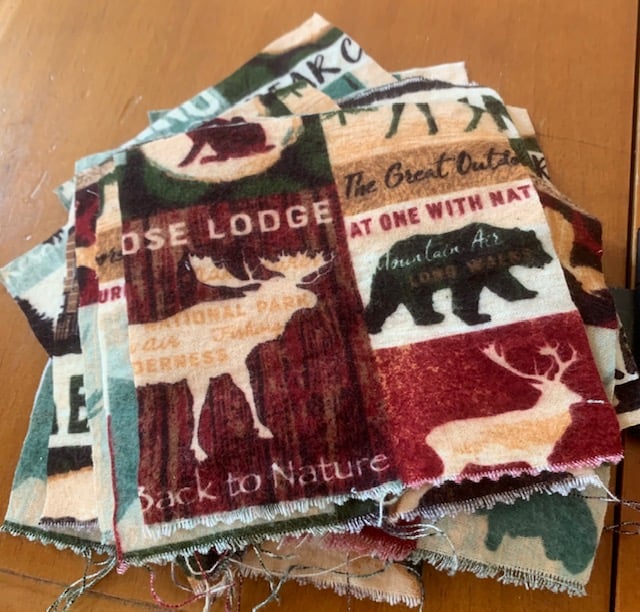
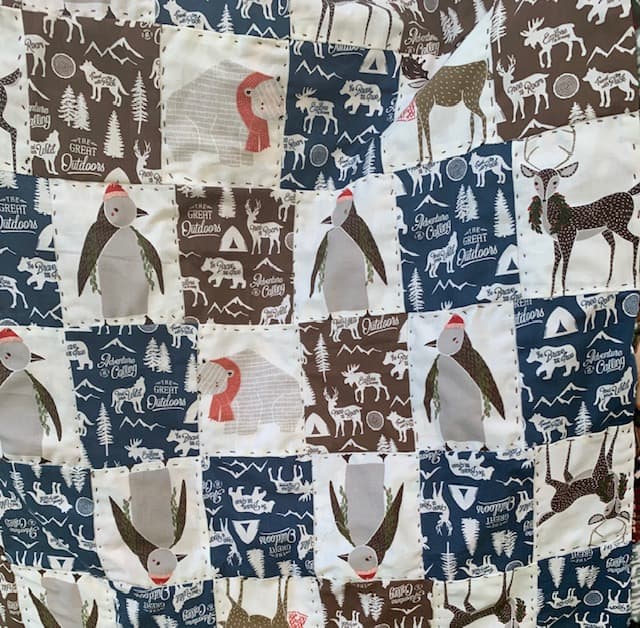
A couple of years ago I bought a quilt kit. It was designed by Moda and had cute woodland animals on it of varying sizes. I was eager to get started and started sewing it around Christmas time. Well it got shelved because of a lack of time and know how. Just pulled it out again and this time knew exactly what to do with it! The woodland animals would be perfect for my go big checker game for a gift for my grandson. I know, I know I always have a purpose when I design something quilted. Not such a bad idea though with fabric being so pricey. I paired the woodland animals with Riley Blake’s, Adventure Is Calling. It comes in blue, green, and brown. It’s so charming! Choose a fabric with animals or something whimsical and add a contrasting solid color or the Adventure Is Calling fabric mentioned already.

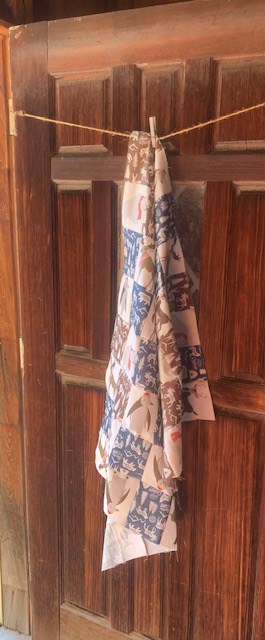
Backing Fabric, Batting Optional
Find a fabric that will contrast or match your Checkerboard Topper. I had some flannel with a camping theme I decided to use for the backing. You don’t have to use batting to quilt your checkerboard since it isn’t going to be used for a quilt if you put a heavy enough backing on it. This is completely up to you though. I decided to pre wash my flannel since I was totally traumatized by my experience of washing flannel the last time I used it on a quilt. I made a really cute double sided flannel blanket and followed the directions online that I had found for washing flannel. Only it shrunk my really cute baby blanket down to a premie size. See no quilter is perfect! This time I carefully washed my flannel in cold water gentle cycle. Once it was washed I pulled it out of the washer and carefully ironed it. Then I hung it over my bannister to dry. The results were much better I am happy to report. I am putting flannel with cotton. Yes you read right. Not afraid to mix and match fabric content especially when it is a game board. The flannel is a perfect batting and backing all in one.
Tools For This Project
- A rotary cutter (let me try that again). A sharp rotary cutter can make all the difference in the world as to how fast your project will go.
- Grab your self healing mat and cut your fabric squares out on your mat using your rotary cutter. You will need sharp scissors for cutting loose threads.
- Choose your thread. It can match your fabric or contrast with it according to the look you are going for.
- Ironing board and iron for an iron as you sew look works well.
Checkers For Your Game
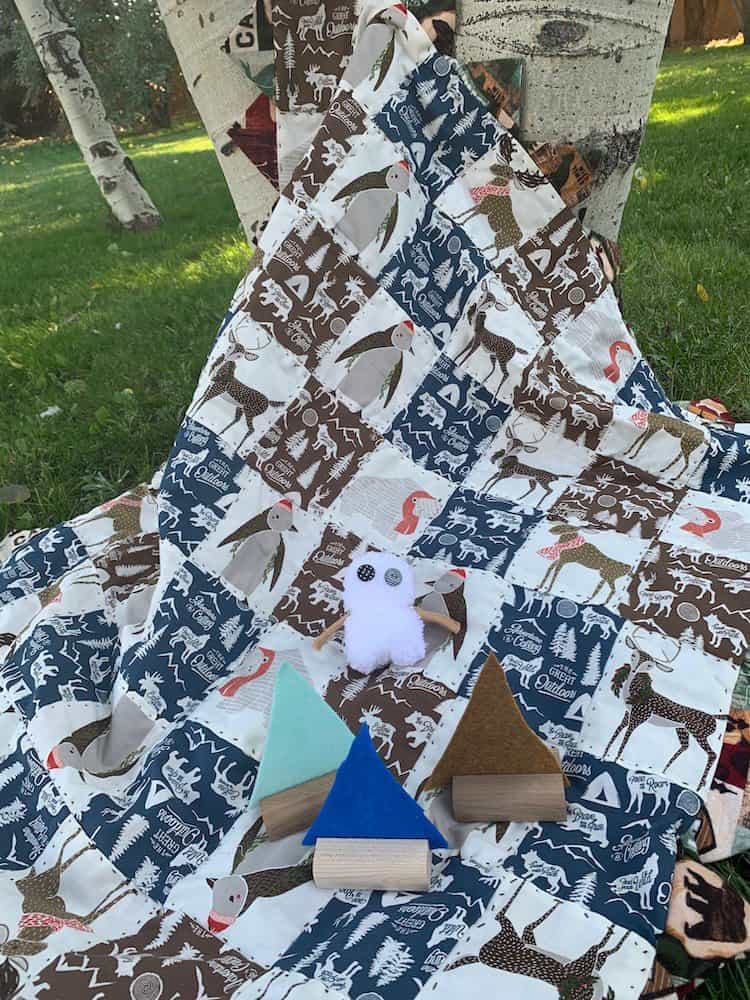
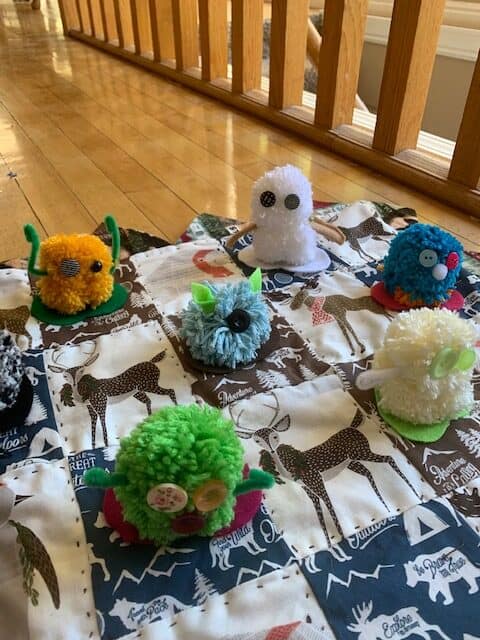
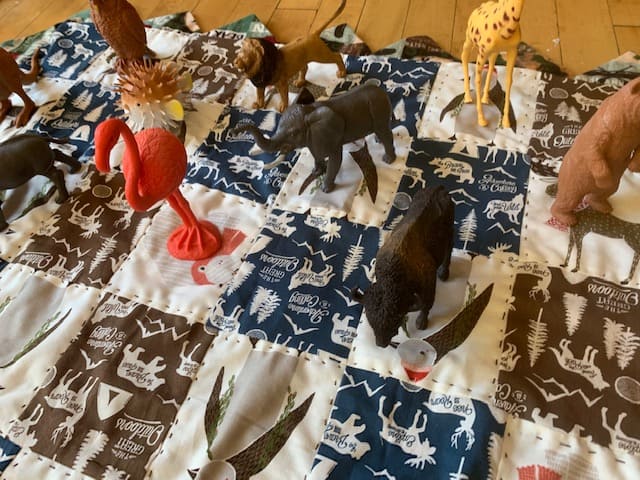
You can be creative and come up with your own checkerboard pieces. Felt pieces, wood pieces, etc… I came up with well let’s just say large pieces because I think it makes this game board even more impressive and fun. Why not go big or go home as they say. Even adults will want to try this game board out. I came across large plastic animals like a buffalo, flamingo, puffer fish, hippo, etc… also thought yarn monsters would be cute for the opposing team. Why not? These yarn buddies can be made out of a variety of colors of yarn. Add button, snap, or bead eyes and felt arms. Cute and easy to make too.
Sew Squares In Rows
After cutting your squares out you are ready to sew. Place squares on the floor or table in the arrangement you want to sew them. Then sew one row at a time. Just alternate your fabric squares. An animal square and then adventure is calling square and so on. This will help your checkerboard come together quickly. All you have to do is take a step at a time. No problem it’s so easy. Quick too!
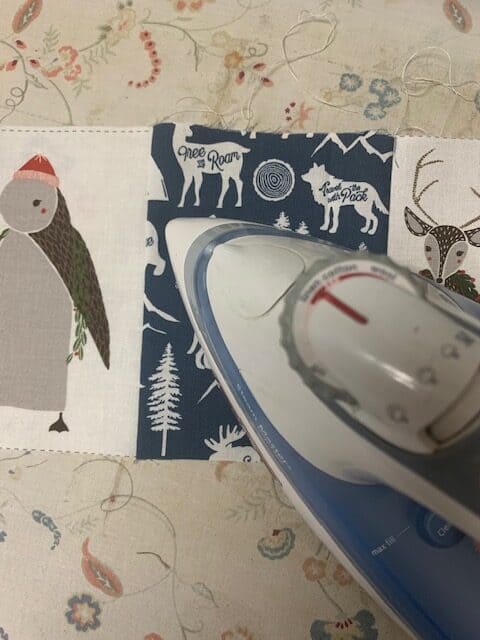
Press After Sewing
After you sew a row together, take time to iron your row. Once you have each row sewn and ironed you are ready to move to the next step.
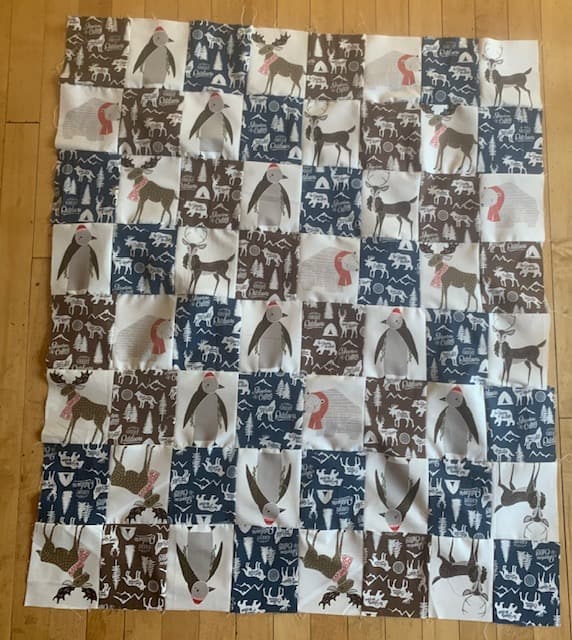
Sew The Rows Together
I’m not kidding. You will be surprised how quickly your checkerboard starts to take shape. Now sew each row together. When you get to the last two rows, sew them upside down as pictured above. You will notice from my picture above that the bottom two rows are sewn upside down and may seem like a mistake. That’s what I thought at first. Thought I would have to do my least favorite thing about quilting and unpick the two rows. Once I thought about it though, I realized I only wish I had thought to turn the sides of my checkerboard inwards as well. Note to self, no need to panic if you make a mistake on your quilt. What started as a mistake turned out A ok!
Back To The Ironing Board
Iron your checkerboard topper. This really does make your topper look nice and it makes it easier to work with because your fabric will lay flatter. You will be adding your prairie points as binding and your backing at the same time so you need your backing to lay flat as possible.
Prairie Points
I think prairie points finish a quilting project with such pizazz. I couldn’t resist putting them around my checkerboard game quilt. I cut squares out of my backing fabric and it looks great because it contrasts with my topper and flows well with the backing. I designed them on the big side. It looks great with my game quilt topper.
- To make your prairie points, just cut out the size squares you want them to be.
- Take your squares to the ironing board. That means another trip to the ironing board but this is where your prairie points take shape.
- Take your square and fold it corner to corner like a triangle. Iron (gently press on your fabric…it usually doesn’t take much to create the shape.)
- Fold again and iron. Voila! Cute prairie point.
- Continue until you have all the prairie points created that you need.
Pin Prairie Points And Backing To Your Checkerboard Topper Together
Lay your checkerboard topper down right side up. Use the floor or a table. Whatever works best for you. Make sure you have plenty of room to work around your checkerboard as you pin the layers together. My dining room floor worked perfectly for this project. It’s made of wood and I could easily slide my checkerboard around to pin each side of it without having to get up and move around it.
- Place your checkerboard topper right side up.
- Then on each side of the topper, put your prairie points on the edge of your topper the point which resembles an arrowhead points to the center of your topper.
- Carefully lay the backing wrong side up and place it on top of prairie points and backing fabric.
- Pin all the way around your checkerboard game topper.
- Sew all the way around the game board with a straight stitch, being careful not to sew over pins because it takes a few pins to hold everything in place. Leave an opening to turn your game board. Go slow so you sew the entire edge of each prairie point into your game board.
- Turn inside out and sew the opening closed either by hand or by sewing machine. Your preference here.
Quilt By Hand
I sat at my sewing machine ready to quilt this puppy outlining each row with a straight stitch but my need to hand quilt won out. Haha. I outlined the woodland animal squares by hand using Perle Cotton dark brown color thread and sewed a running stitch around each square. I know penguins and polar bears aren’t exactly considered woodland animals at least by North American standards but it makes for a fun name to call my quilted checkerboard quilted game board) I love how it turned out. It is also a great project to sew on while relaxing in front of the tv. I quilted my checkerboard game in an evening. Not too shabby eh? (You can quilt it by sewing machine or have it long armed if you prefer.)
You Might Also Like
Create a quilt with two games in one. This has a Halloween theme but you can make it without a holiday theme to it. Halloween Quilt With Checker Game And I Spy
How about a mini quilt that looks like a Halloween mummy? How Do You Make A Mini Quilt? Vintage Halloween Mummy I’m telling you it’s super cute and it’s super easy! (Sorry truly not trying to brag I just designed it to be both of those things.
Got a lot of T shirts? How about sewing them into a quilt. How Do You Make A T Shirt Quilt? Quilt As You Go & No Interfacing I love this one! I use a sew as you go method and instead of batting I lined it with a sweatshirt fabric by the yard. Love, love and triple love the finished quilted T shirt quilt!
One more for good measure. This is the cutest table runner and it is my own design. Rather easy to make and the end results are very festive. How Do You Make A Simple Christmas Table Runner?
Recent Posts
Wondering how to become a more confident quilter and how to zero in on what type of quilting really sings to you? How do you identify if you are a maker of quilts and keep believing in your abilities...
Do you need a quilt to give as a gift and need it like yesterday? Here is a fun quick quilt you can make in a day (maybe less) once you have your supplies. It features homemade raw edge, scrap back...