The easiest way to bind a quilt is to put the quilt together without binding. This process takes 8 simple.
- First, put your quilt backing on a table or spread it out on the floor with the right side up. It works well if your backing is 2″ wider than your quilt topper all the way around.
- Second, lay your finished quilt top so that the right side lays on top of the backing.The quilt topper’s wrong side will be facing up.
- Third, pin the two fabric pieces together every 6 inches around on three sides.
- Fourth, sew the backing fabric and the quilt topper together around three sides leaving the bottom edge open.
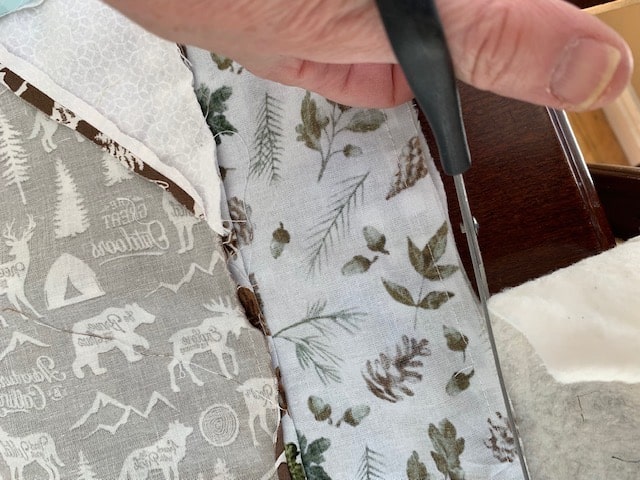
- Fifth, lay out the batting for your quilt on the floor or on a table. Then place your backing and quilt topper on the top of your batting. Trim extra backing and batting.
- Sixth, hand sew a loose stitch through all three thicknesses of your quilt around three sides of your quilt leaving the un sewn side of your quilt un sewn.
- Seventh, (if you have a large quilt, grab a buddy to help you turn your quilt right side out.) Slowly and carefully turn your quilt inside out.
- Eighth, sew the un sewn side of your quilt closed.
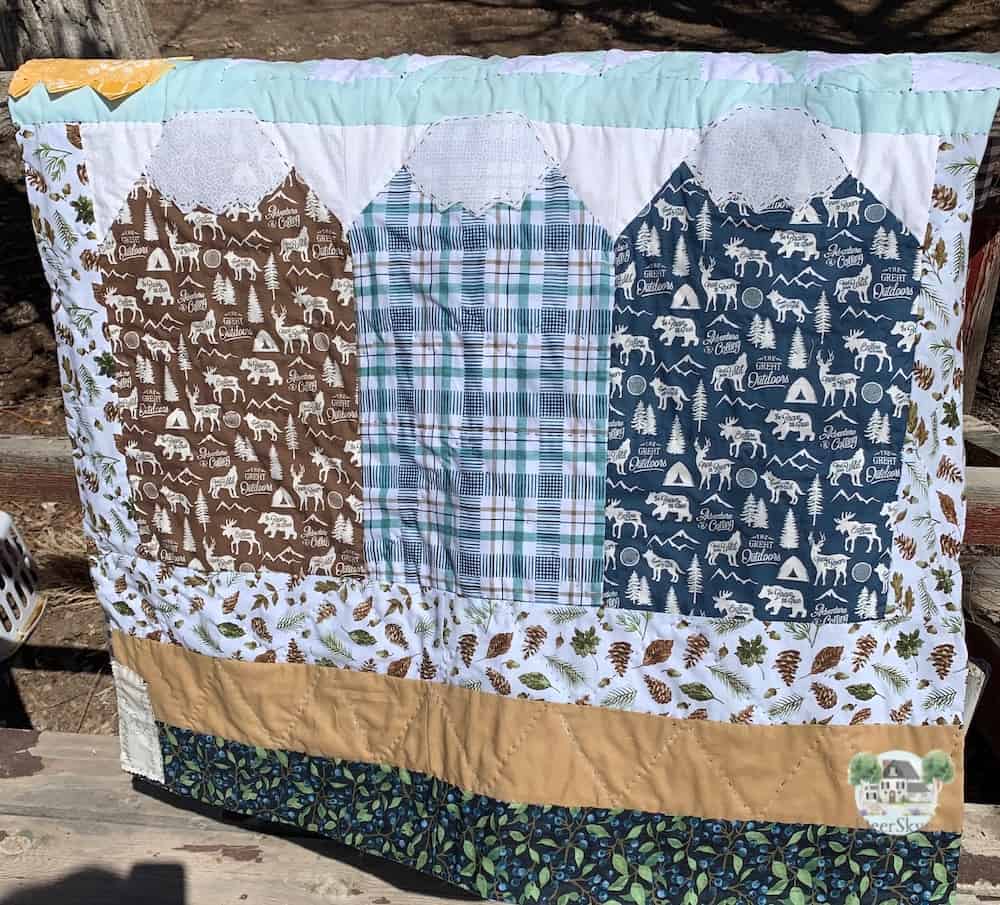
If I had to choose my least favorite step of finishing a quilt, hands down it is binding the edge of the quilt. I rejoiced though when I learned how to finish a quilt without binding it. No truly! I am not exaggerating! This method is pretty easy and fairly quick way to finish the edge of your quilt and it looks very professional!
Step 1: Quilt Backing Right Side Up
Did you know quilting can help you relax and help relieve stress. It is a fun hobby to have not withstanding when you have to unpick and start over but that is ok! Turn on your favorite movie, a podcast, your fav tunes whatever will enjoy listening or watching while you bind your quilt. You can bless the lives of others by giving away the quilts you make. You don’t have to give them away but if you get serious about quilting and your quilts start to stack up you might want to give a quilt as a special birthday quilt or to bless the life of someone who is struggling and could use a quilt to know that they are loved and cared for. You would be amazed at what quilting can do for you and anyone else you choose to give a quilt to.
Ok now, don’t get overwhelmed with each of the steps. This method is really easy for finishing your quilt. Take your backing fabric and lay it on the floor or if you have a table large enough. Smooth it out on the table. I usually use my floor unless I am working on a baby quilt. Make sure you place your backing right side up. It is easier if your quilt backing edge is a little bigger around than your quilt topper. You will trim it later. No worries though. It will still be fine if it is the same size as your quilt top.
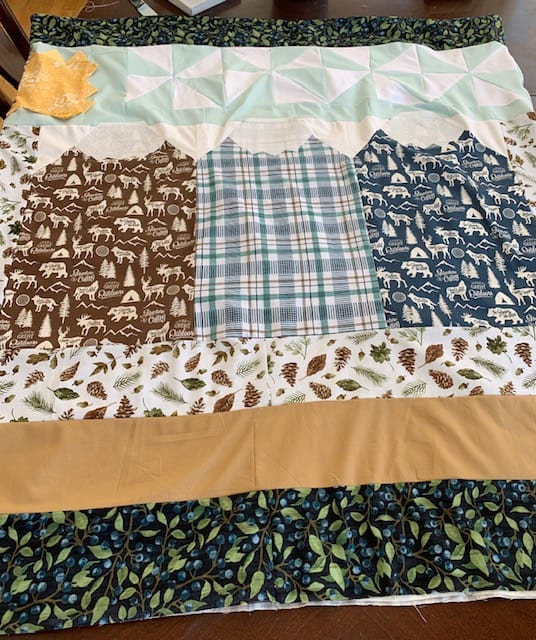
Step 2: Quilt Topper Wrong Side Up
You’ve sewn your quilt topper and your ready to put your quilt sandwich together. It is time to get excited because this method is really sweet and you’re about to do something really amazing! Take your quilt top and turn it to the wrong side. Carefully lay it on top of your quilt backing that is on the table or the floor facing right side up. Line the two quilt pieces up and take your hands and smooth it out. Hopefully your backing is a little larger than the quilt top. If you’re backing and topper are the same size, no worries you are still good.
Step 3: Time To Pin 3 Sides of Your Quilt Together
Pin your quilt backing and quilt topper every six inches. This will hold it in place to prevent it from slipping as you sew. I like to use long pins instead of the shorter pins. They just work better for me. A word about thread here. Make sure you sew with quality thread. It took me awhile to realize this is really a thing. I sewed with the cheapest thread I could find and had many issues with my sewing machine. Thanks to my sister and sister in law who shared one day that sewing with quality thread does make a difference in your sewing…I joined the club! I have had less issues with my sewing machine.
Step 4: Sew Time!
Here you go! Your quilt will start taking shape! Sew around your three pinned edges. Leave the bottom edge open. You will finish that soon. Don’t turn your quilt inside out yet. There is one more step before you see the finished edge of your quilt. Like I mentioned earlier I like this method a lot because it is easy to do and finishes your edge so nicely! You will be happy with YOUR work! Ok now that I have you pumped and ready to go, proceed to the next step.
Deer Skye Quilt and Home Design
Step 5: Add Your Batting
Lay your batting on the floor or table wherever you are working. Next place your backing and quilt top on top of your batting. Smooth all the layers.
Deer Skye Quilt and Home Design
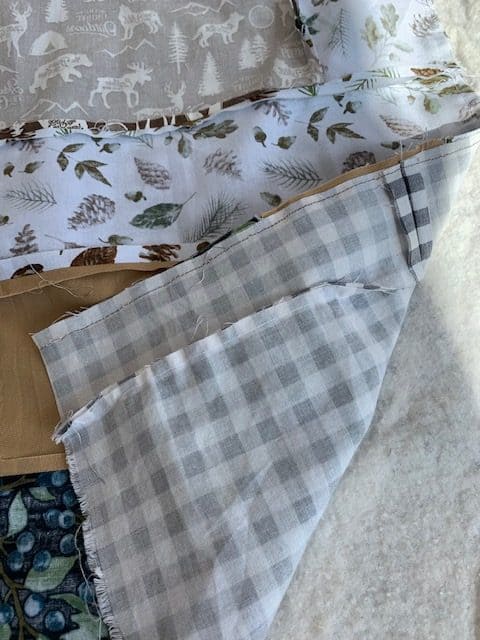
Trim any excess fabric around the edge of your quilt. Make sure the edge matches up and your batting or backing isn’t bigger than your quilt topper now.
Deer Skye Quilt and Home Design
Step 6: Sew A Loose Stitch Around Your Layers
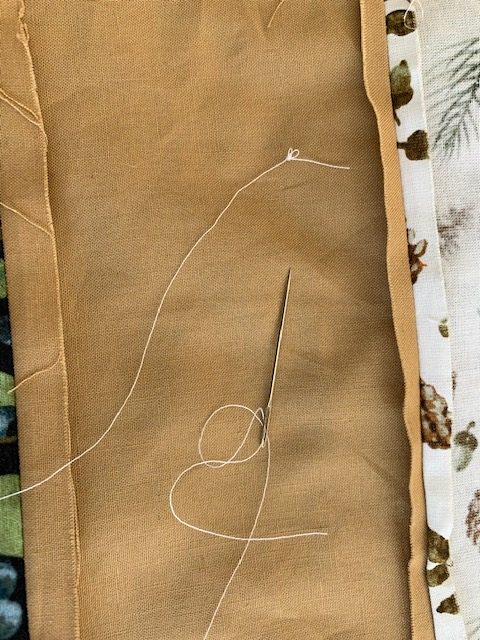
Thread your needle and hand sew a loose stitch through the backing, quilt topper, and batting. Leave the un sewn edge, un sewn. Don’t worry, we will get to that step soon. This takes a little time but this holds your quilt together so you can turn your quilt inside out. Oh ya, use thread that is a close match to your fabric. You don’t want your stitches to show through. Yes. I found that out the hard way…yikes! Mistakes can be good right? Learning saves you time on your next project wink wink!
Deer Skye Quilt and Home Design
Step 7: Flip Your Quilt!
The defining moment has arrived. I love the part where you turn your quilt right side out. It’s the best! So rewarding! If you have a large quilt, grab a partner to help you flip it. Put a hand on the top and the bottom of your quilt. Then carefully turn your quilt inside out. Voila! (I speak a little French.) Look at the edge. Isn’t it sweet looking!

Deer Skye Quilt and Home Design
Step 8: Sew The Bottom Edge of Your Quilt
I chose to hand quilt the baby quilt I made before I sewed the bottom of my quilt. You have two options here. You can hand sew or machine sew across the bottom of your quilt to finish it. Turn the edges of your quilt down so the raw edge is tucked under. Then pin in place. Smooth your quilt as you pin so nothing catches weird on the back of your quilt and it lays smooth. For hand sewing, I matched my thread to my fabric and then sewed small stitches around the edge of the quilt until I got to the end. Then I knot it off and take my needle and put it into the middle of my fabric and then bring it up a little ways from the edge of the quilt and cut my thread. (I don’t catch the fabric so this doesn’t show on my quilt. It keeps my sewing a little more secure. If you sew across on your machine make sure your thread matches your fabric. You don’t want the sewing to stand out on your quilt. Yahoo! Sit back and marvel at your handiwork! You deserve it!
This Might Interest You Too
Want to make a baby quilt? Here is fun journey to follow on How To Make A Baby Quilt .
Need a label for your quilt? Make your own here How Do I Make A Simple Quilt Label?
Want to know how to speed up the quilting process? Quilt As You Go: You Can Do It!
Recent Posts
Wondering how to become a more confident quilter and how to zero in on what type of quilting really sings to you? How do you identify if you are a maker of quilts and keep believing in your abilities...
Do you need a quilt to give as a gift and need it like yesterday? Here is a fun quick quilt you can make in a day (maybe less) once you have your supplies. It features homemade raw edge, scrap back...